Seven or eight years ago, Shawna and Damon introduced Jake and I to the game of Kubb, a Swedish game also known as The Viking Game . It is an easy field game that any age group or ability level can play and is so fun that we have had matches sometimes go on for hours. Fast forward a couple years later when a family friend gave us a handmade Kubb set to share with Jake’s brother and his wife. We’ve done a pretty good job at sharing the set between the two families and both have enjoyed playing Kubb at family gatherings, backyard barbecues and at get-togethers with friends.
Problem is, Jake and I recently moved, and in that move we somehow lost one of the field kubbs and three of the corner markers. I looked EVERYWHERE for them but for the life of me I could not find them!
So rather than tear my house apart looking for the missing pieces, I did what any sane woman would do and hopped onto an unnamed website (it starts with an Am and ends with a zon) to see what it would cost to have a new set shipped my way. Let’s just say that I was surprised at how much people were asking! So, I priced out how much it would cost to make my own and was thrilled to find that for a little over $20.00, I could replace my missing pieces PLUS make a new set for my BIL and his wife! Yeah buddy!
It only took us a couple hours to make the kubb set and it gave Jake and me an opportunity to teach our kiddos how to safely use power tools (double bonus!) In the end, we were pretty excited with the result, which is why I decided to share with you a tutorial on how to make your own set. Now YOU will be able to join in on the fun!
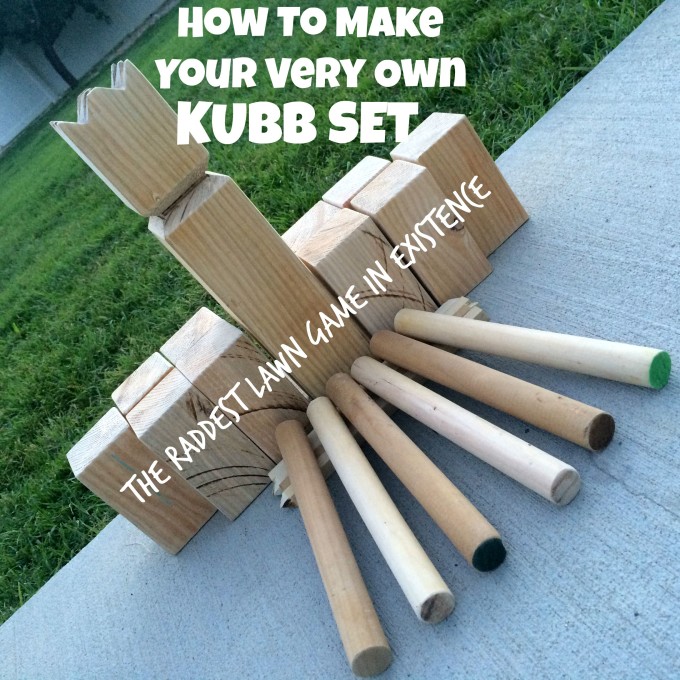
This tutorial will help you to make:
1 King Kubb
10 Field Kubbs
6 Throwing Batons
6 Field Markers
Tools used:
Measuring Tape and Pencil
Miter Saw
Table Saw
Sander
Materials:
One – 4×4 (8-foot long) piece of wood
Two – 1 ¼ inch wooden dowels (36 inches long)
Two – 5/8 inch square dowels (36 inches long)
Tutorial:
When I was researching on how to make a kubb set, I found some pretty good tutorials here and here. Check them out! Although we DID deviate from how they made their sets, they will give you a good idea of what you are about to get into!
Step one- Make the Field Kubbs
So that you are aware, the 4×4 is used to make BOTH the King AND the field kubbs.
- First, you will use your miter saw to cut off 18 inches to be used for the King. Set aside.
- Next, you need to use your table saw to cut down the 4×4 to make it 3 inches squared.
- The field kubbs are actually smaller in diameter than the King. SO, before you go searching for a 3×3 piece of wood like I did, (which exists but is VERY uncommon and expensive), use the table saw to cut 2 edges of the 4×4 down to create a 3×3.
- Measure and mark the 3×3 every 6 inches and cut with the miter saw to create 10 field kubbs.
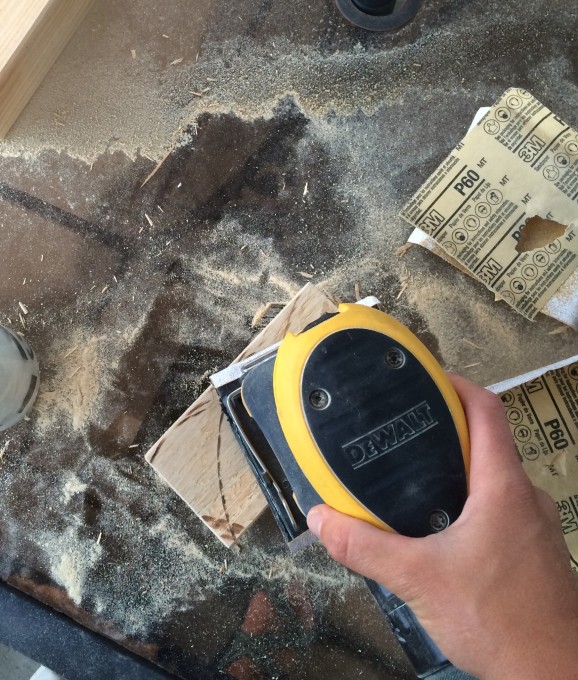
- Sand the field Kubbs to remove any rough edges
Step 2 – Make the Batons and Marker Stakes
- Measure both the round and square dowels into thirds (about 1 foot sections) and cut with the miter saw. This should make a total of 6 batons and 6 markers.
- Rotate your miter saw to a 45* angle and cut one end of the square dowels to make a pointed end
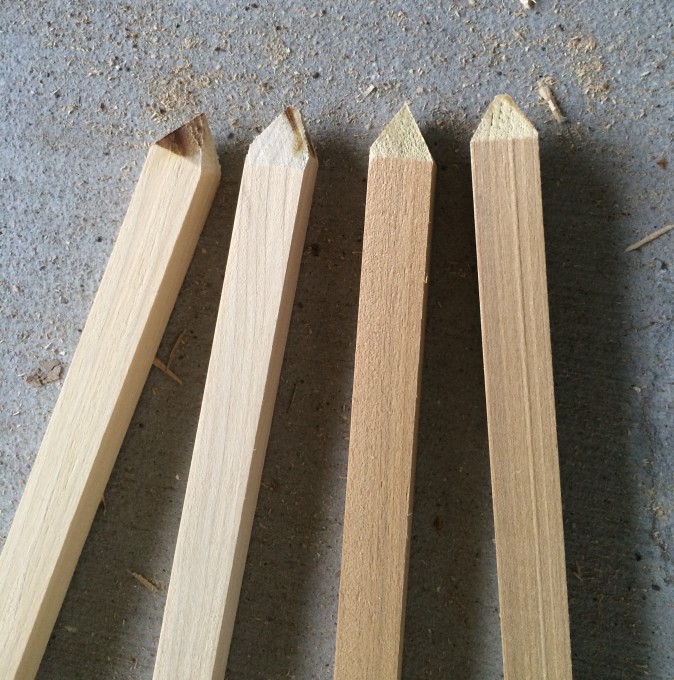
- Sand to remove any rough edges
- Step 3—Cut the King Please note that we have cut the king 2 inches longer than necessary to allow for some wiggle room. Also, there are lots of patterns that are online of different looking king pieces. We made ours to look similar to the one featured here. However, we used a table saw to make our cuts and cut a different accent piece around the middle.
- Measure and draw your cuts onto the wood as shown in the video.
- Adjust your table saw to be angled at 45* with the blade set at a 1 inch depth (Approximately). Adjust the guiding board so that the blade lines up with the pattern you have drawn.
- Make 8 cuts along the lines to shape the top of the King’s crown.
![make kubb set 2]()
![make kubb set 3]()
- Now adjust the blade down to be at approximately ½ inch depth.
- Measure and mark a line 3 ¼ inches from the top corners of the king
- Cut an accent groove as pictured.
![make kubb set 4]()
![make kubb set 5]()
- Cut off the extra 2 inches at the bottom. The King should be 16 inches tall.
- Sand to remove any rough edges
Step 4 – Stain (optional)
To save money, we chose not to stain our Kubb set. We have found that with proper care our set has stayed in good condition without staining. However, if you would like yours to last longer and look fancier, stain would add a nice finishing touch.
![make kubb set 7]() Step 5 – PLAY KUBB!
Step 5 – PLAY KUBB!Now it’s time to gather a group together and play! Here are the official rules. Although, we like to play a variation of Kubb where you can stack the field kubbs as described here in step # 5.
Let us know if you have success making your own Kubb set!
Cheers!
-Amanda


 Step 5 – PLAY KUBB!
 Follow